Showing posts with label latex. Show all posts

Tuesday, April 13, 2010

Cloudcrete, Fabrication

This is a record, for now, of our step by step process to make these latex kites!

1: Template printed from from Rhino 3-d model.

2: Template used to cut latex form
3: Edges cleaned with solvent

4.1: Edges adhered with either Liquid Latex


4.2: Or Edges adhered with Rubber Cement

5: Once edges have dried seal with duct tape ( temporary solution until we get the sealed joint that we can trust)
first edge
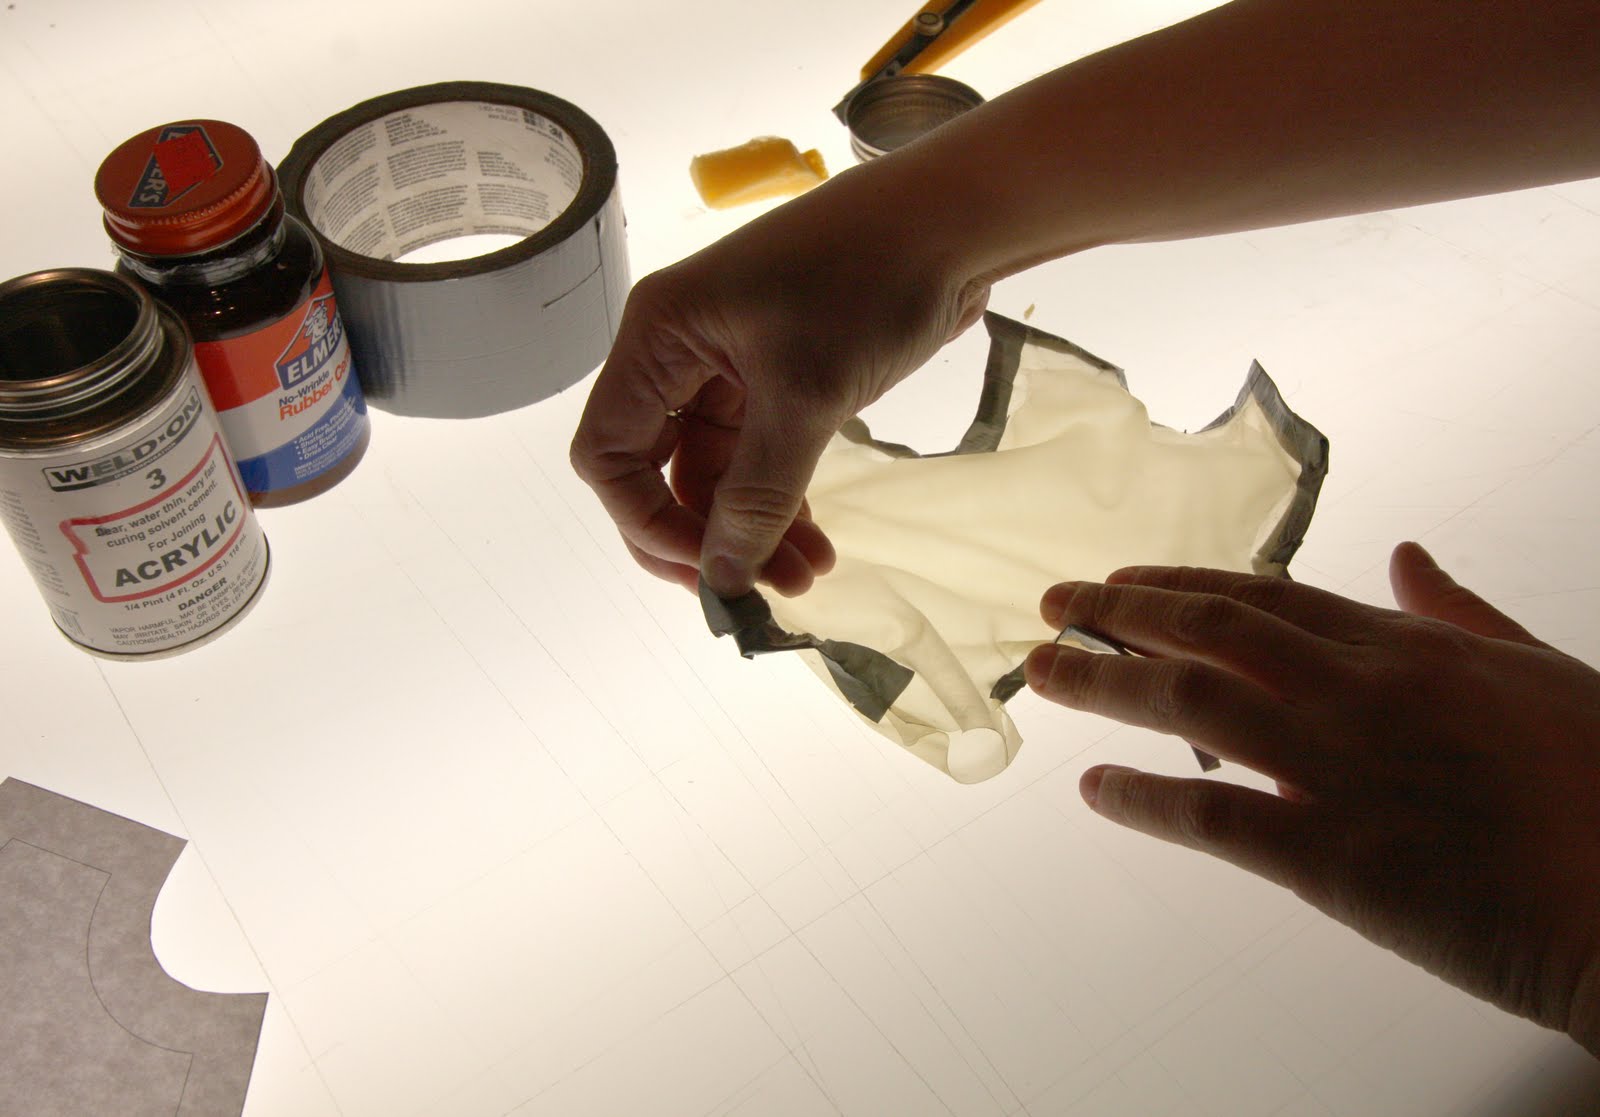

all edges

gate to fill with concrete

All of the Materials Needed and the three new prototypes

Checking for Holes!


No holes here!

Sunday, April 4, 2010

Cloudcrete, Test Day 1

Cloudcrete is a rotational molded series of whimsical hollow forms that feel as light as a cloud! We are working on perfecting the right consistency of the mix, methods of sealing the latex formwork, and the calibration of the thinness of the rockite in a shell. These initial tests included embedding connections in the concrete to be able to string or fit pieces together (grommets and hollow tubes) and adding a fine sand as aggregate to the mixture.

Test 1: Small kite with hollow tube.


Test 2: Three-legged amoeba with grommet. The rockite was able to get so thin around the grommet that light is able to show through.


Test 3: Larger kite with hollow tube and green sand aggregate. The volume of concrete was not enough for the shell to stay together, however broken open, one can see the light effects of the thin shell and the sand.

Saturday, February 20, 2010

melissa goldman_test 4B

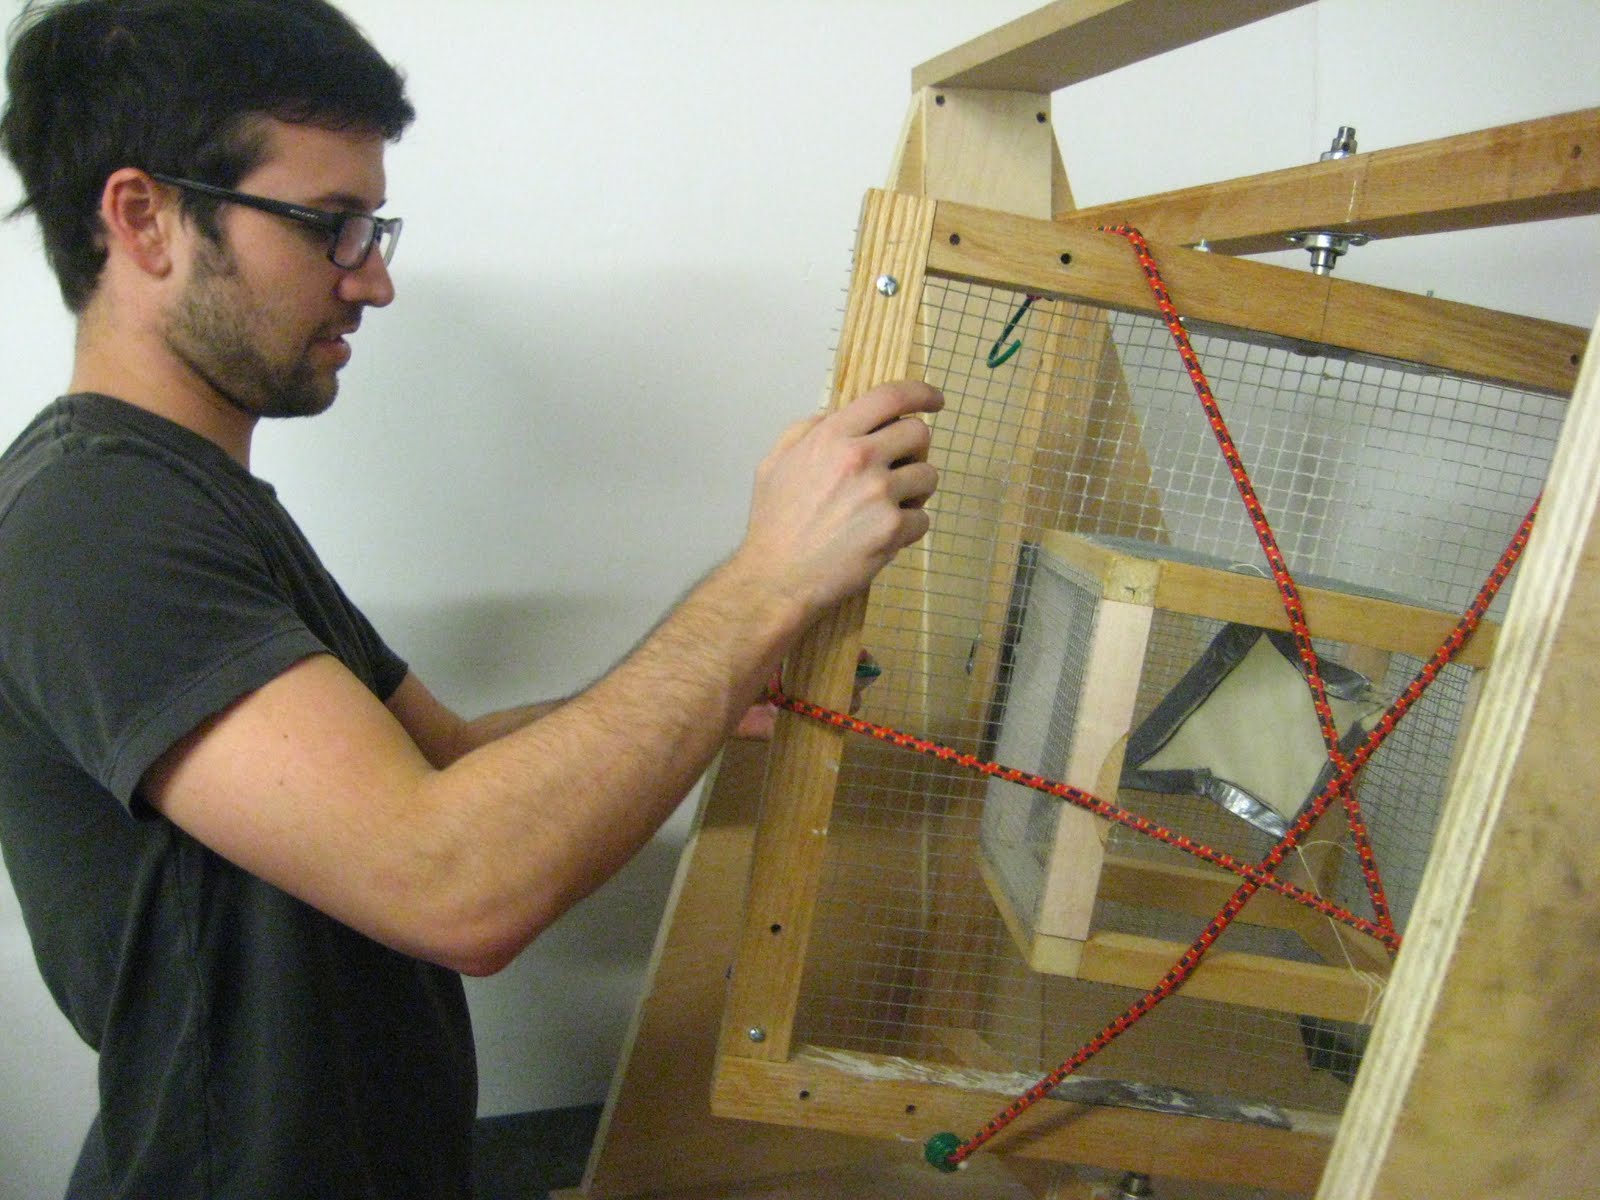
Latex Glove in Rotational Molder


melissa goldman_test 3

Failed attempt at making a thin ribbon of concrete. I had omitted the fabric bag I had in test 2 and used fingers of a latex glove for my inflatable formwork. I used a very dry mix, but everything just molded together.


Sketches trying to figure out how to make the formwork...


Thursday, February 18, 2010

week 3 [rachel villalta]

This week I wanted to step away from the mesh and work with different moldable materials. I used a plastic mesh that I again covered in latex. There was an inherent grid within the plastic fabric and manipulation of that grid that I was trying to reproduce onto the concrete, however it was a bit of a failure!
concrete pour with the manipulated plastic fabric mold covered in latex.


Week 2 [rachel villalta]

For week 2 I wanted to step up the size of the mesh so I could mold it easier and make sure the concrete does not seep through the mesh. I applied a layer latex to the molded mesh. This time I poured the mold twice, once with Quick Crete and once with Cement all. The quick_crete test took much longer to dry and after initial removal from the mold was very dusty. I believe we had our ratio a little wrong (1 part water to 4 parts powder).

quick crete pour
cement all pour

metal mesh finished with latex


Wednesday, February 17, 2010

week four (Trevor Lamphier)

This week I continued on with shrink wrap. This time I sandwiched the cement between two shrink wrap surfaces ( which had wire beneath to distort the shrink wrap). The result is thin and smooth, although it took a bit longer than the other surfaces had because it was getting less air contact.
I made a significant mistake though, I used way too much cement and had a lot left over, not wanting to waste it, I cast it into a latex glove. I pinned the glove to the wall and put a bucket under it, the cement fell all into one finger expanding it's diameter from about .5" to around 4"! The result is very fluid, gravity defined (at least mostly) and smooth (not shiny, glossy like the shrink wrap, but a very nice matte finish). I am going to take the latex further next week and try some Gaudi-esque casting techniques.
I have run out of cement, does anyone have a suggestion for the next material? Something that sets fast and has a high surface resolution?


Saturday, February 13, 2010

Caren Faye - Test 2


re-used the same plywood mold as week 1, but the 5th face was made using thin latex stretched across the mold. The latex was then pulled inward at the top (ref. top face in middle image) and a piece of plywood with a screw sticking out of it was put over the 5th face, so that the screw head made the puncture impression.

Wednesday, February 10, 2010

melissa goldman_tile 2

Concrete Shell Around Balloon Structure


melissa goldman_tile 1

A: Concrete in Sewn Spandex Formwork


B: Concrete Shell Between Spandex and Latex Balloon